Manage categories and taxonomies

The Categories page is where you build your product catalog structure. You can create more than one taxonomy (catalogue), each with its own category tree. You can assign a taxonomy to a sales channel so a channel shows its own catalog.

Categories page with a taxonomy card per catalogue and a Create taxonomy card

Before you begin

  • You need the Product role to view categories.
  • Creating taxonomies, creating categories and deleting categories require Owner access on the Product role.
  • Renaming, reordering and adding products require non-viewer access.

View categories and taxonomies

Go to PIM > Categories. The page has two panels:

  • On the left, the category tree with a search box and a filter button. The header shows how many taxonomies and products you have, for example "2 taxonomies · 464".
  • On the right, the All categories view with one card per taxonomy.

Each taxonomy card shows the taxonomy name, the sales channel it is assigned to as a badge (for example B2B Webshop or Mobile App), the number of subcategories and the number of products. The card also lists the first few top-level categories.

Create a taxonomy

A taxonomy is a separate root with its own category tree. Use more than one taxonomy when you want different catalogs for different channels.

  1. Click Create taxonomy at the top right or the dashed Create taxonomy card.
  2. Give the taxonomy a name.

The new taxonomy appears as its own card with an empty tree.

To make a taxonomy show in a storefront, assign it as the catalog root of a channel. See Channels.

Open a taxonomy or category

Click a taxonomy card or a row in the tree to open its detail view.

Taxonomy detail view with the subcategory table

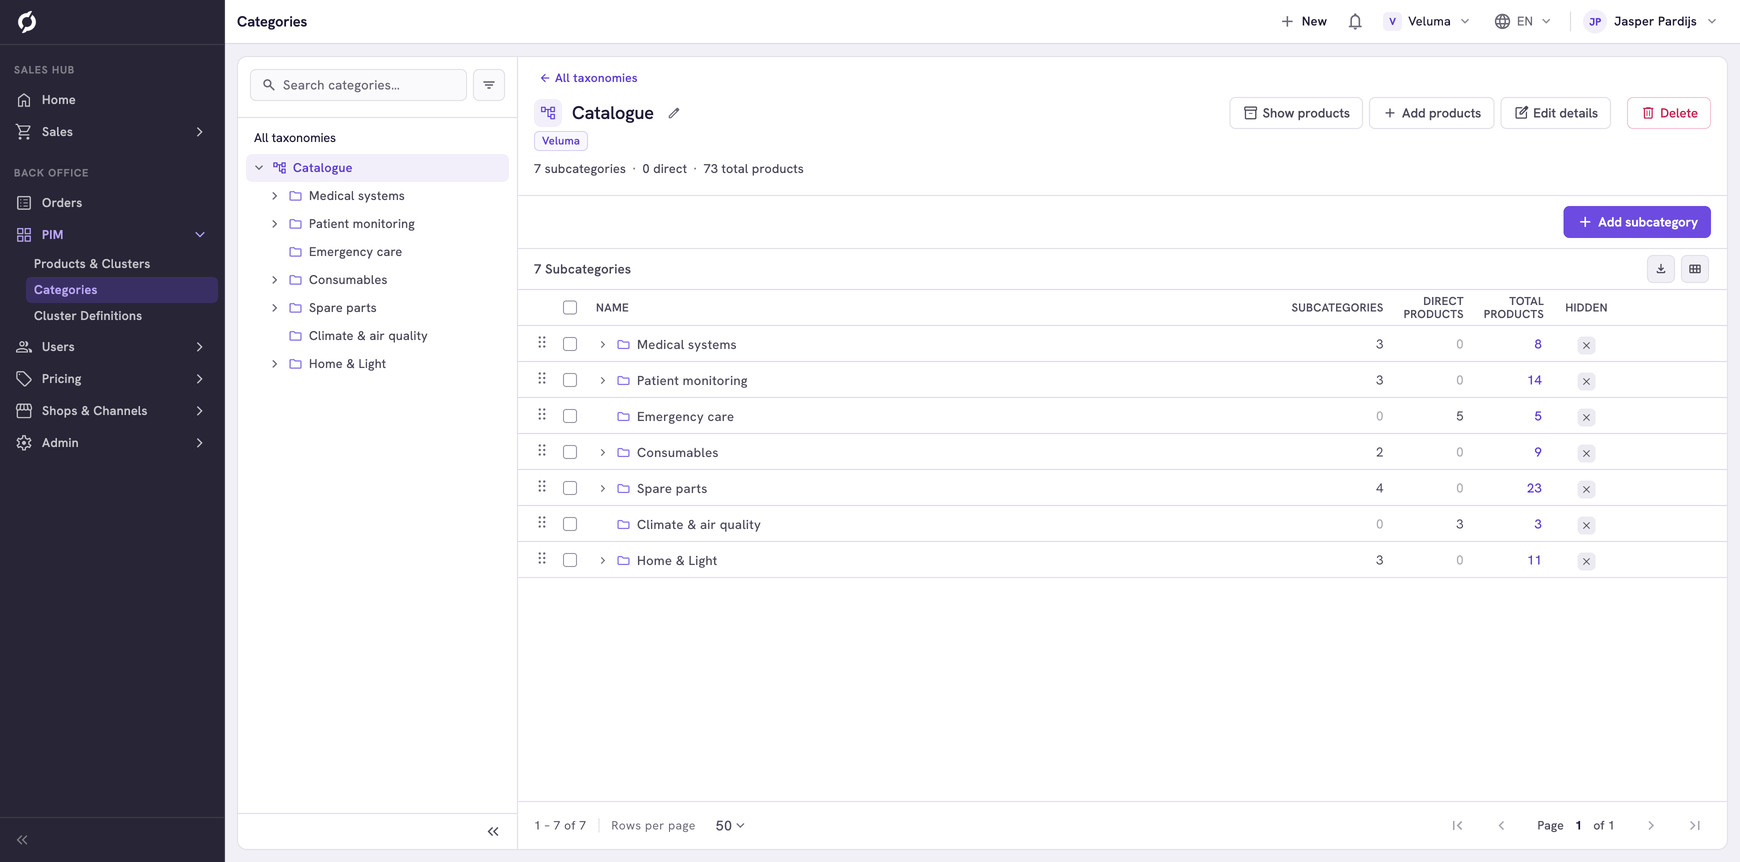
The detail view shows:

  • A breadcrumb at the top, for example All > PDM.
  • A header with the category name, its channel badge and the Show products, Edit details and Delete buttons. Add subcategory and Add products sit at the top right.
  • A count line, for example "6 subcategories · 39 direct · 464 total".
  • A Subcategories table.

The Subcategories table has these columns:

ColumnDescription
NameSubcategory name. Click the chevron to drill into it
SubcategoriesNumber of child categories
Products (direct / total)Products linked directly and the total including subcategories
Is hiddenThe eye icon shows whether the category is hidden from the storefront

Use the Table editor (the grid icon above the table) to choose which columns are visible. Click the Export icon next to it to download the list as a CSV file. Use the page controls at the bottom to set items per page and move between pages.

Search the category tree

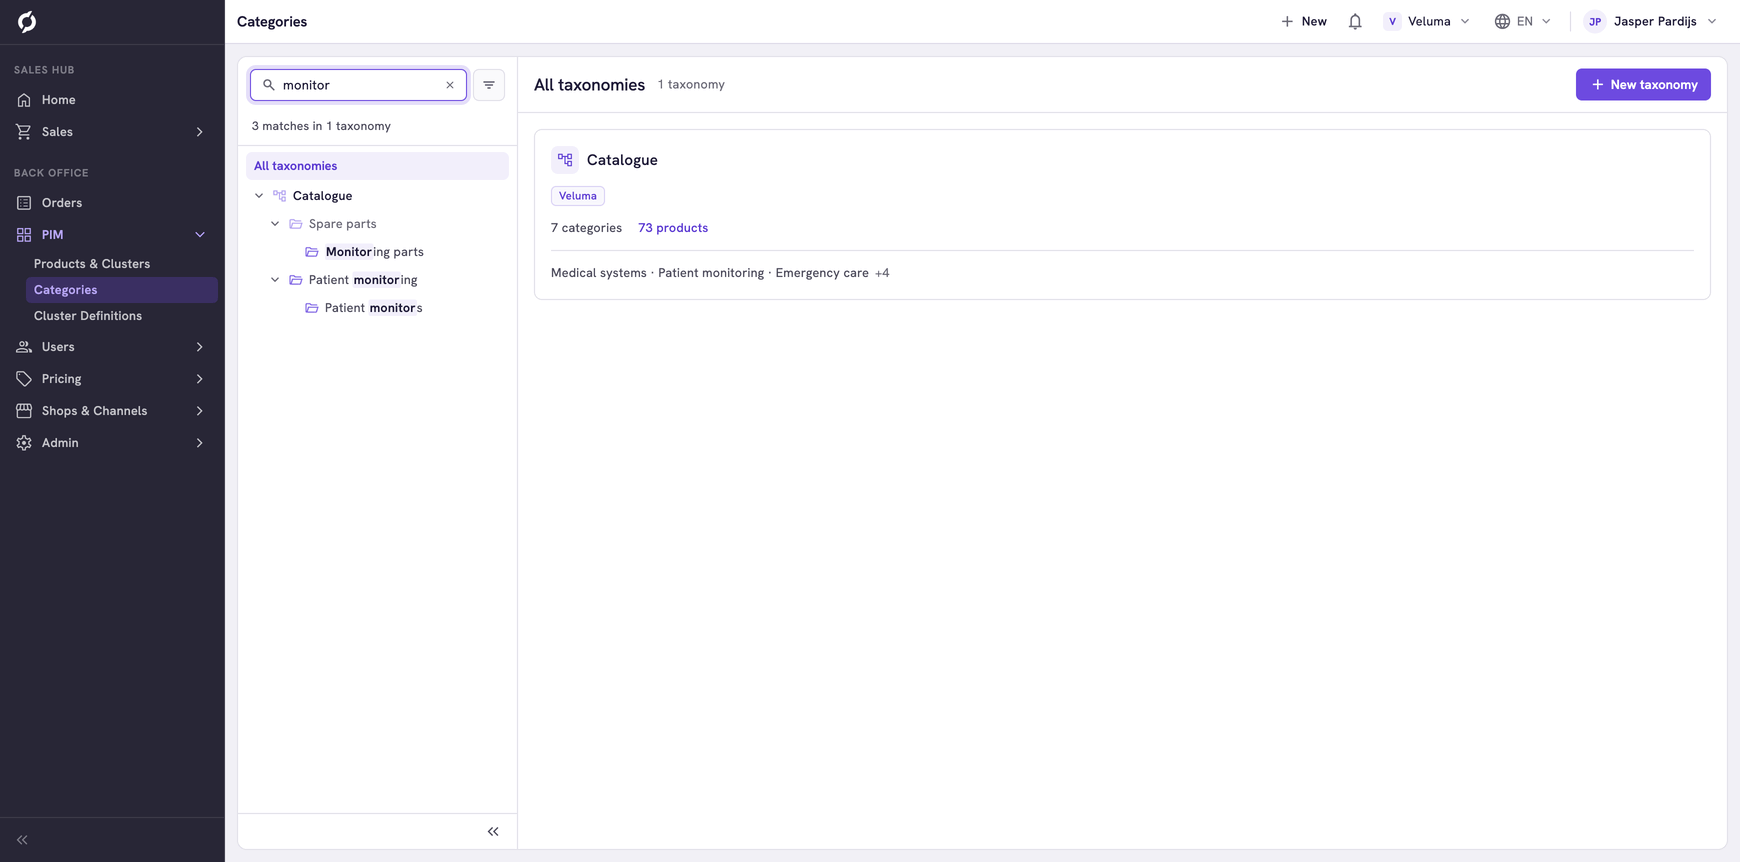
Type in the Search tree box to find categories by name. Matching text is highlighted in the tree and the result count shows above it, for example "1 total result · 1 taxonomy on this page".

Tree search with the matching category name highlighted

Click Clear all to remove the search and show the full tree again.

Filter the tree

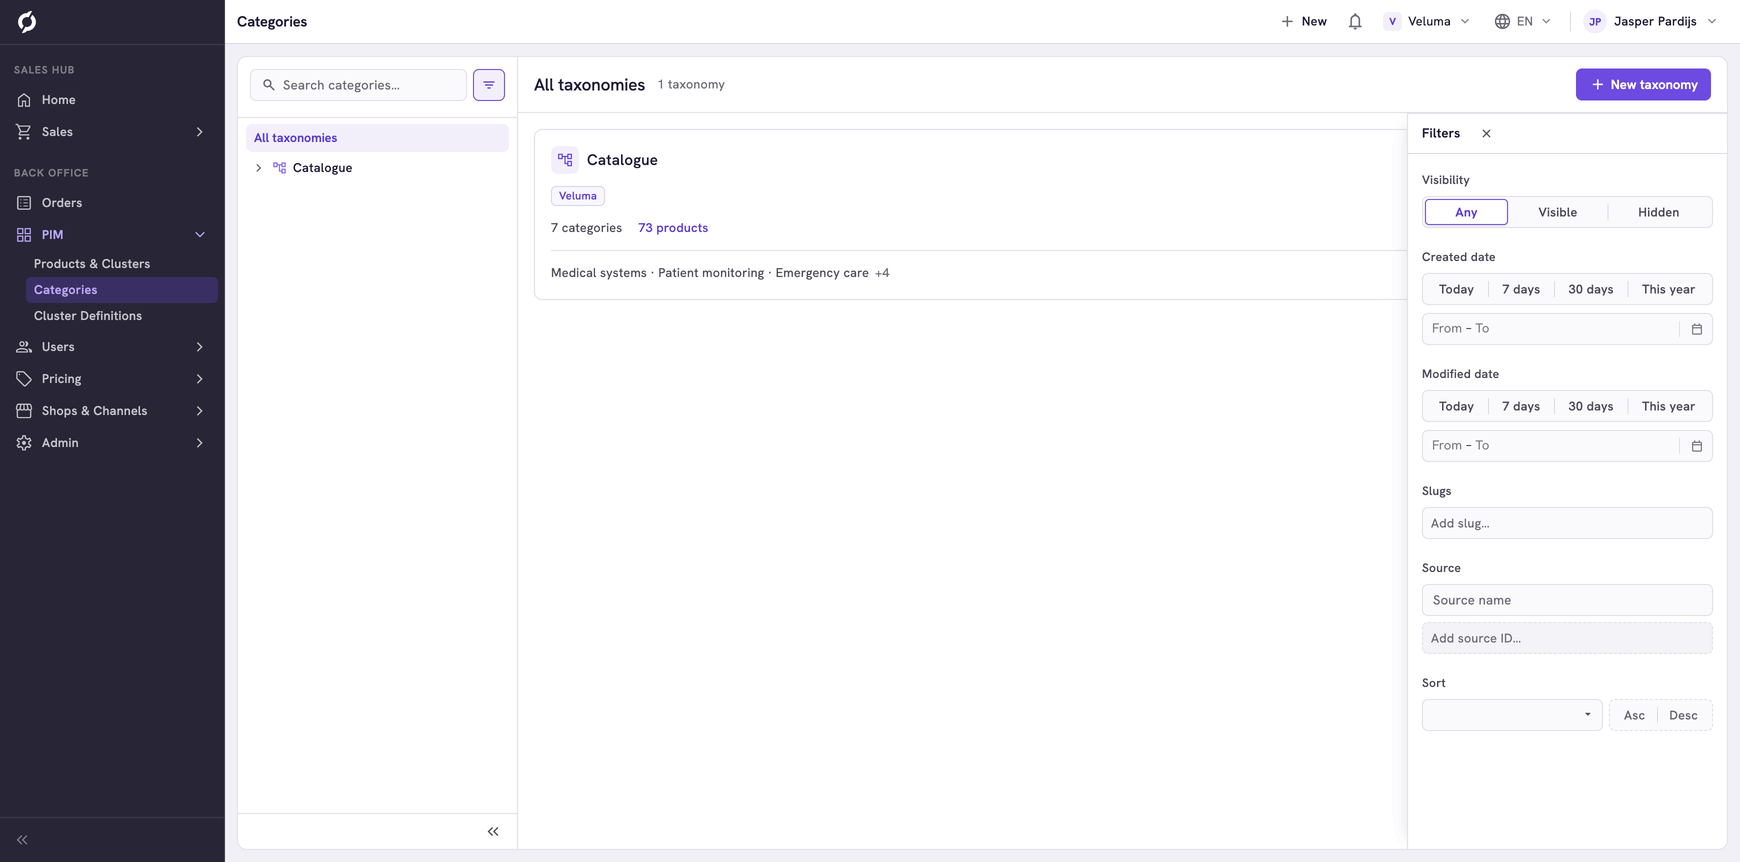
Click the filter button next to the search box to open the filter panel.

Filter panel with Visibility, dates, Slugs, Source and Sort options

You can filter by:

  • Visibility show hidden or visible categories.
  • Created date and Modified date filter by when categories were added or changed.
  • Slugs filter by the URL slug.
  • Source filter by the source system.
  • Sort set the order categories appear in.

Use the row actions

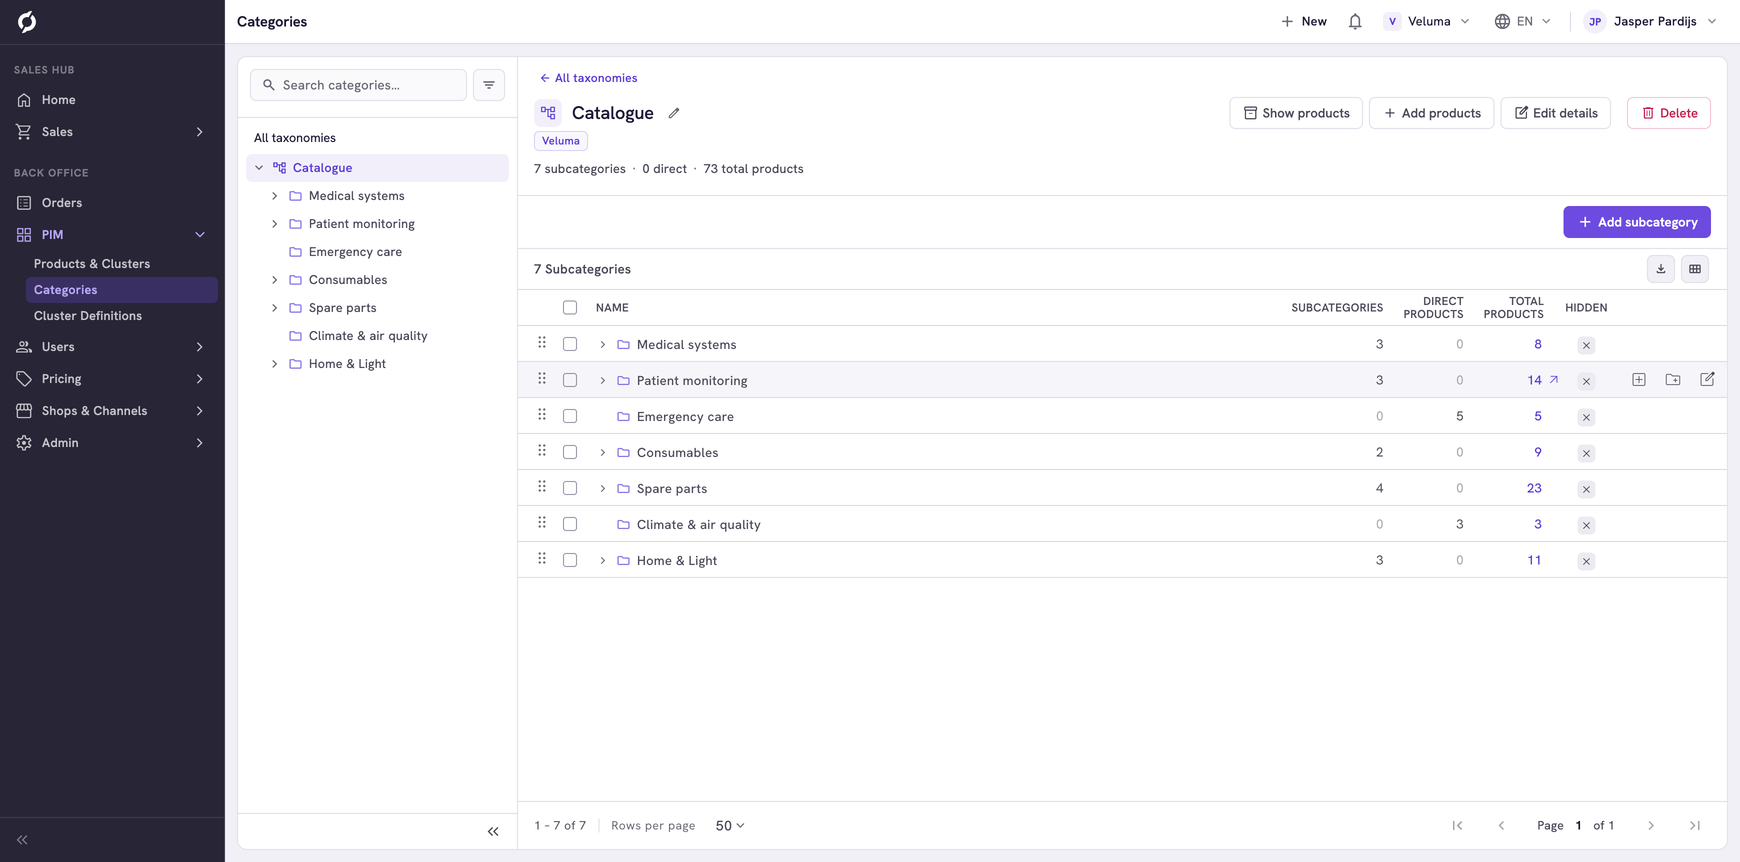
Hover over a row in the Subcategories table to reveal four action icons:

Subcategory row with the Show products, Add subcategory, Edit details and Delete icons

IconActionDescription
Show productsView productsOpens the Products & Clusters list for that category
Add subcategoryAdd a childCreates a subcategory under that row
Edit detailsOpen detailsOpens the category detail page
DeleteRemoveDeletes the category after confirmation

View products in a category

  1. Open a category and click Show products or use the Show products row icon.
  2. The Products & Clusters dialog opens, listing the products and clusters in that category.

Products & Clusters dialog listing the products in a category

The list shows the SKU, name, supplier, price, stock, orderable status, hidden status, availability status, minimum quantity and quantity steps. Use Search by name, Selected search fields and Filters to narrow the list. Click a product to open its detail page.

Select one or more products with the checkboxes. A toolbar appears above the list with the number of selected items and three actions.

Products & Clusters dialog with a product selected, showing the Delete items, Move items and Link items actions

ActionWhat it does
Delete itemsRemoves the selected products from this category. The products themselves are not deleted
Move items (max. 500)Moves the selected products to another category, so they leave this one. You can move up to 500 at a time
Link itemsAdds the selected products to another category as well, while keeping them in this one

Every product belongs to exactly one primary category. Moving a product changes its primary category. Linking a product keeps its primary category the same and makes it appear in the other categories as well.

This matters for pricing. A category discount on a price sheet only applies to a product through its primary category. It does not apply through linked categories. So if you want a category discount to reach a product, make sure that category is the product's primary category, not a linked one.

Add a subcategory

  1. Open the taxonomy or category you want to add to.
  2. Click Add subcategory at the top right or the Add subcategory icon on a row.
  3. Give the subcategory a name.

The subcategory appears in the tree and in the Subcategories table.

Add products to a category

  1. Open the category you want to add products to.
  2. Click Add products at the top right.
  3. Select the products and clusters you want, then confirm.

The products are linked to the category.

Reorder categories

Drag a row by its handle to reorder categories within the same parent. You can also drag a category in the tree to move it under a different parent. The tree refreshes after the move.

Edit category details

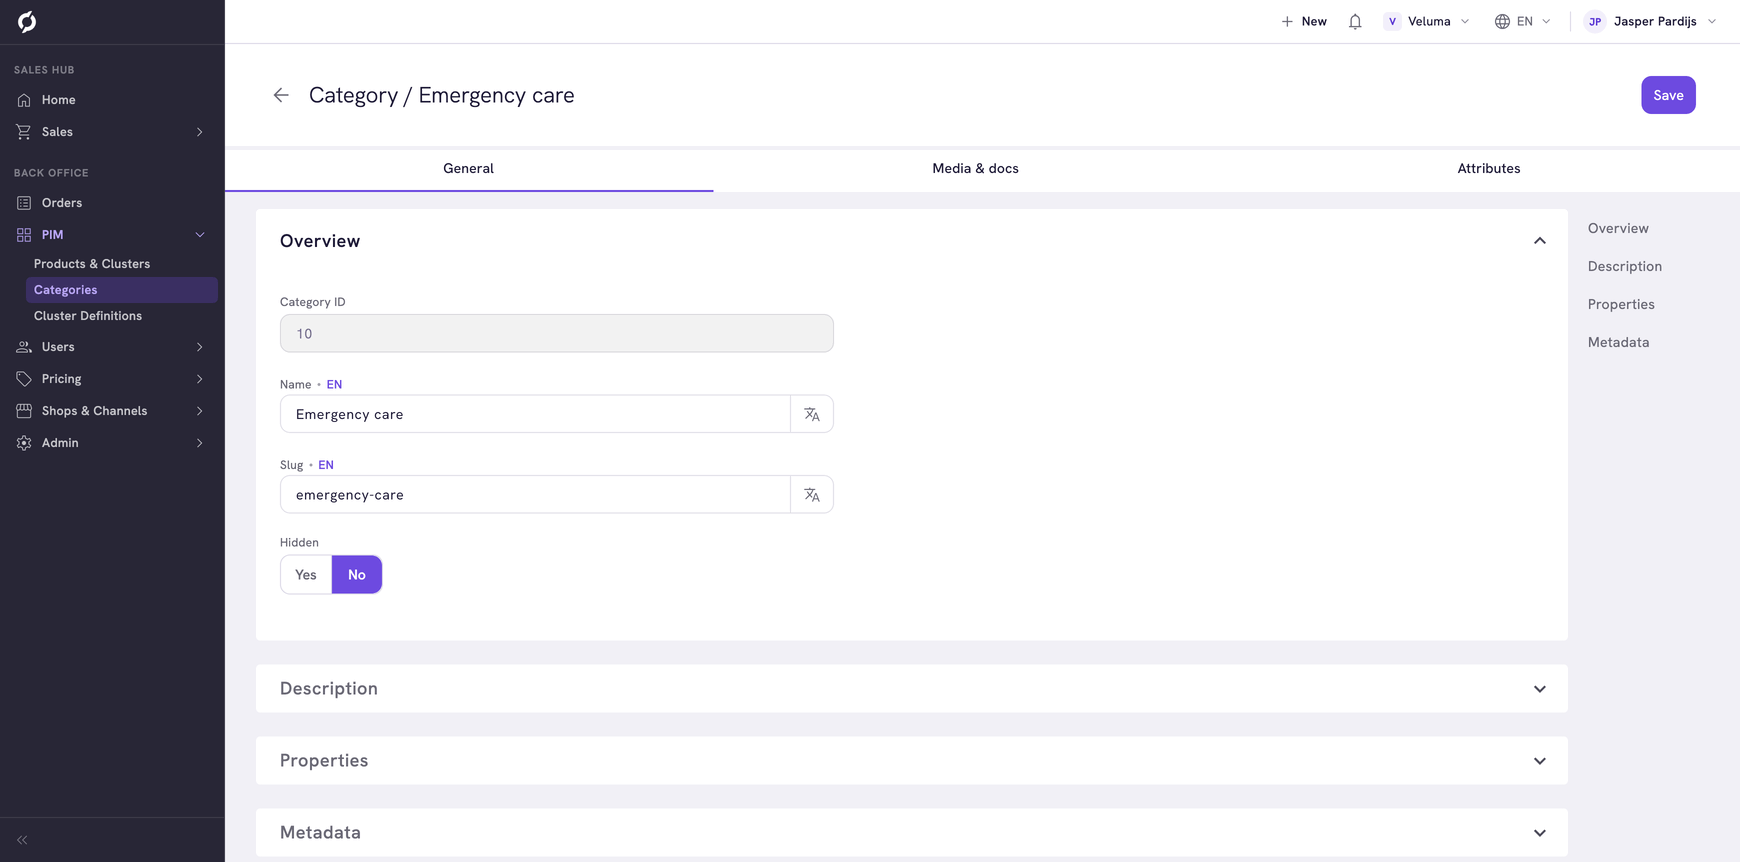
Click Edit details or the Edit details row icon to open the category detail page. The page has two tabs: General and Attributes.

Category detail page with the General tab and the Editing language selector

Use the Editing language selector at the top to enter values per language. The right sidebar links to the Overview, Description, Properties and Metadata sections.

The Overview section contains:

FieldDescription
Category IDRead-only numeric identifier
NameCategory display name. Translatable per language
SlugURL-friendly name for the storefront
HiddenSet to Yes to hide the category from the storefront

The Description section has rich text editors for the short description and full description, each with language selection. The Properties section holds the category path, parent and source details. The Metadata section holds the SEO title, description and canonical URL.

Click Save to apply your changes. Viewers can open the page but cannot edit it.

Hide a category

Set Hidden to Yes on the category detail page to hide it from the storefront. The Is hidden column in the Subcategories table shows the current state with an eye icon.

Delete categories

To delete a single category, open it and click Delete or use the Delete row icon, then confirm.

To delete more than one at once, select the rows with their checkboxes and confirm the deletion.