Clusters
Clusters group related products as variants of a single item. A cluster uses a cluster definition to determine which attributes (such as Color and Size) create the variant options shown in the storefront.
Before you begin
- You need the Product role to view clusters and cluster definitions.
- Creating or deleting cluster definitions requires Owner access on the Product role.
- Editing cluster definitions requires non-viewer access.
Manage cluster definitions
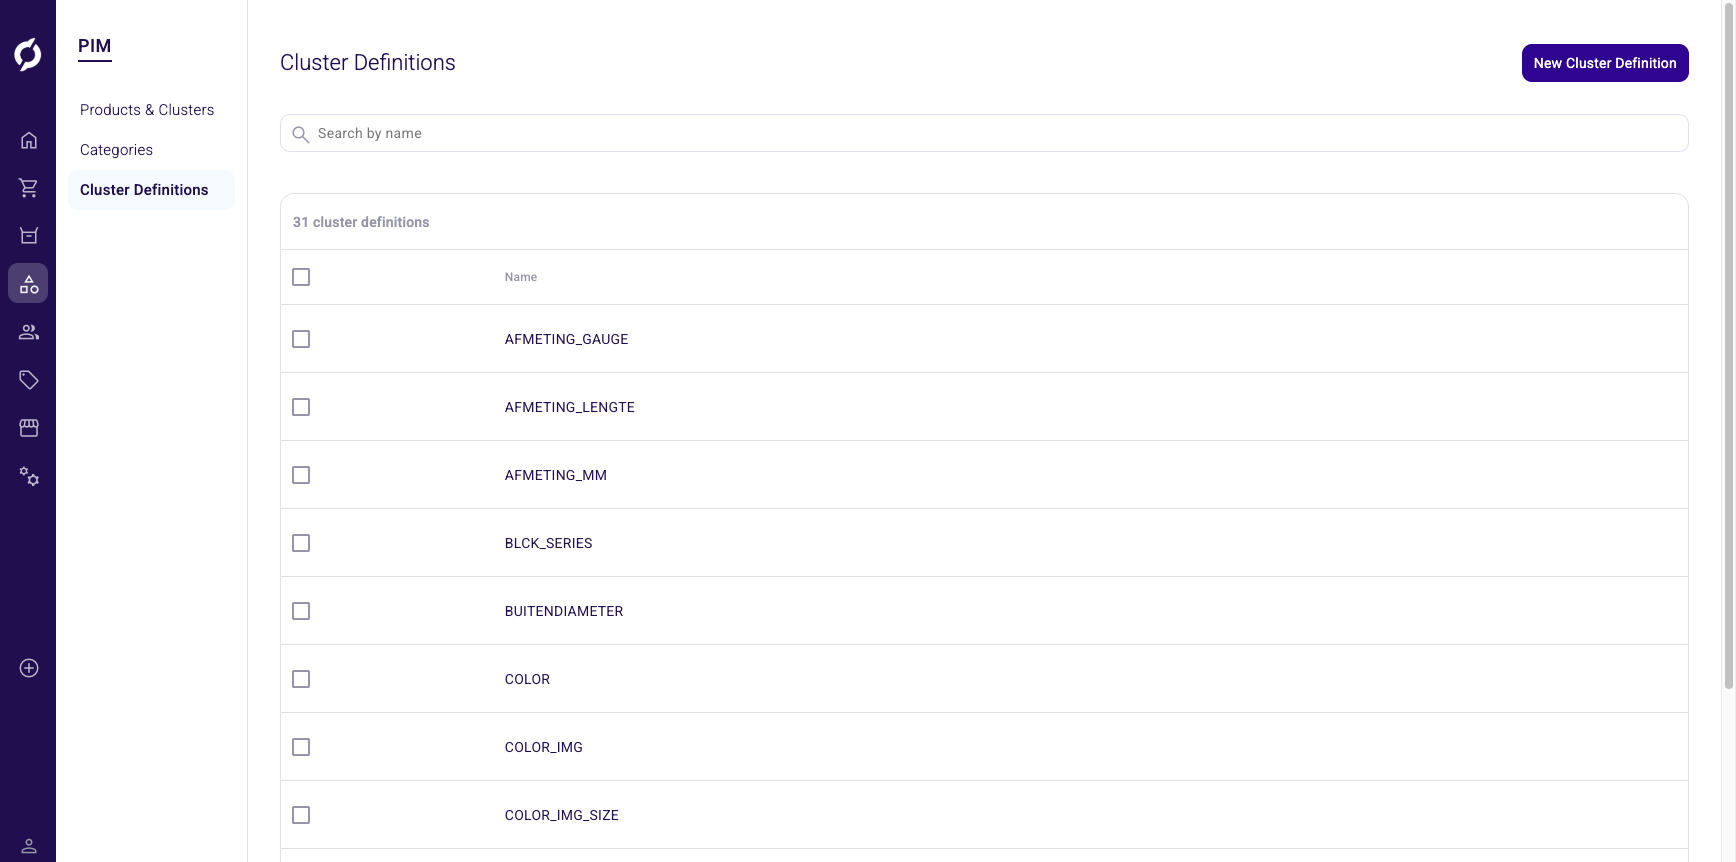
Cluster definitions control which product attributes form the variant selectors for a cluster. Navigate to PIM > Cluster Definitions to view all definitions.
Create a cluster definition
- Click New Cluster Definition.
- Enter a Name in UPPERCASE_WITH_UNDERSCORES format (for example, PRODUCT_MODEL_SHIRT). This name cannot be changed after creation.
- Click Add product filters to open the attribute picker.
- Select the product attributes that form the variant selectors (for example, Color and Size).
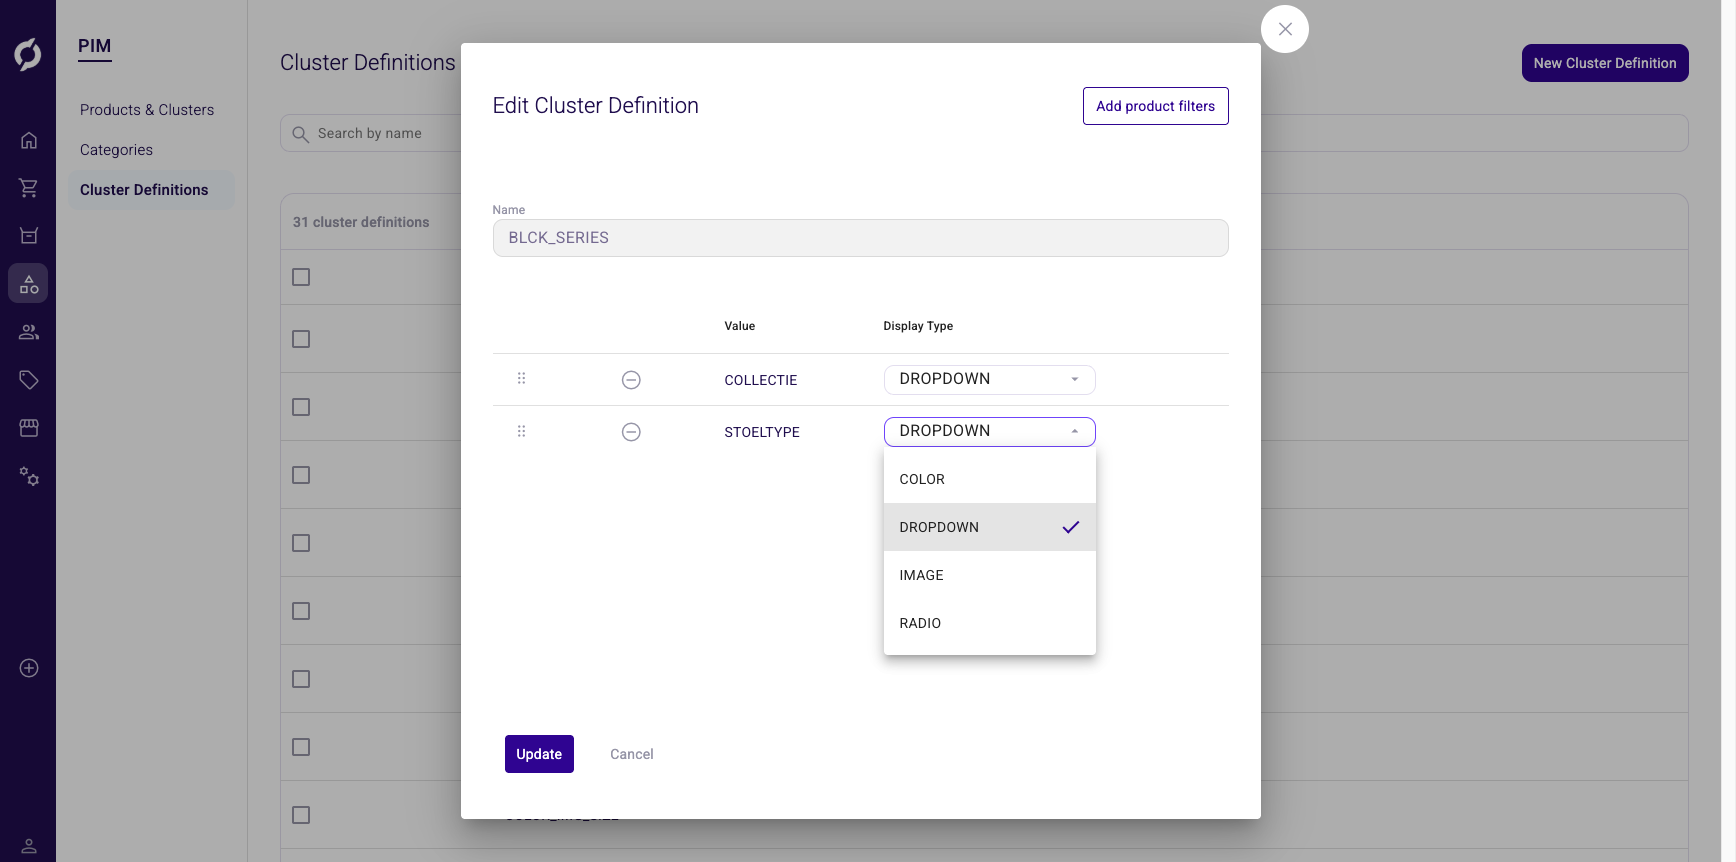
- For each attribute, choose a Display Type:
| Display type | Description |
|---|---|
| Color | Color swatches |
| Dropdown | Standard dropdown menu |
| Image | Clickable image tiles |
| Radio | Horizontal option tiles |
- Drag and drop to set the priority order. This determines the attribute selection sequence in the storefront.
- Click Save.
Edit a cluster definition
Click any row in the cluster definitions list to open the edit dialog. You can add or remove product filter attributes, change display types and reorder attributes by dragging. The definition name cannot be changed.
Delete cluster definitions
- Select one or more definitions using the checkboxes.
- Click Delete and confirm.
Edit a cluster
Navigate to PIM > Products & Clusters and click any cluster row to open the cluster detail page. The detail page has five tabs: Description, Products, Options, Storefront and Attributes.
Edit cluster descriptions
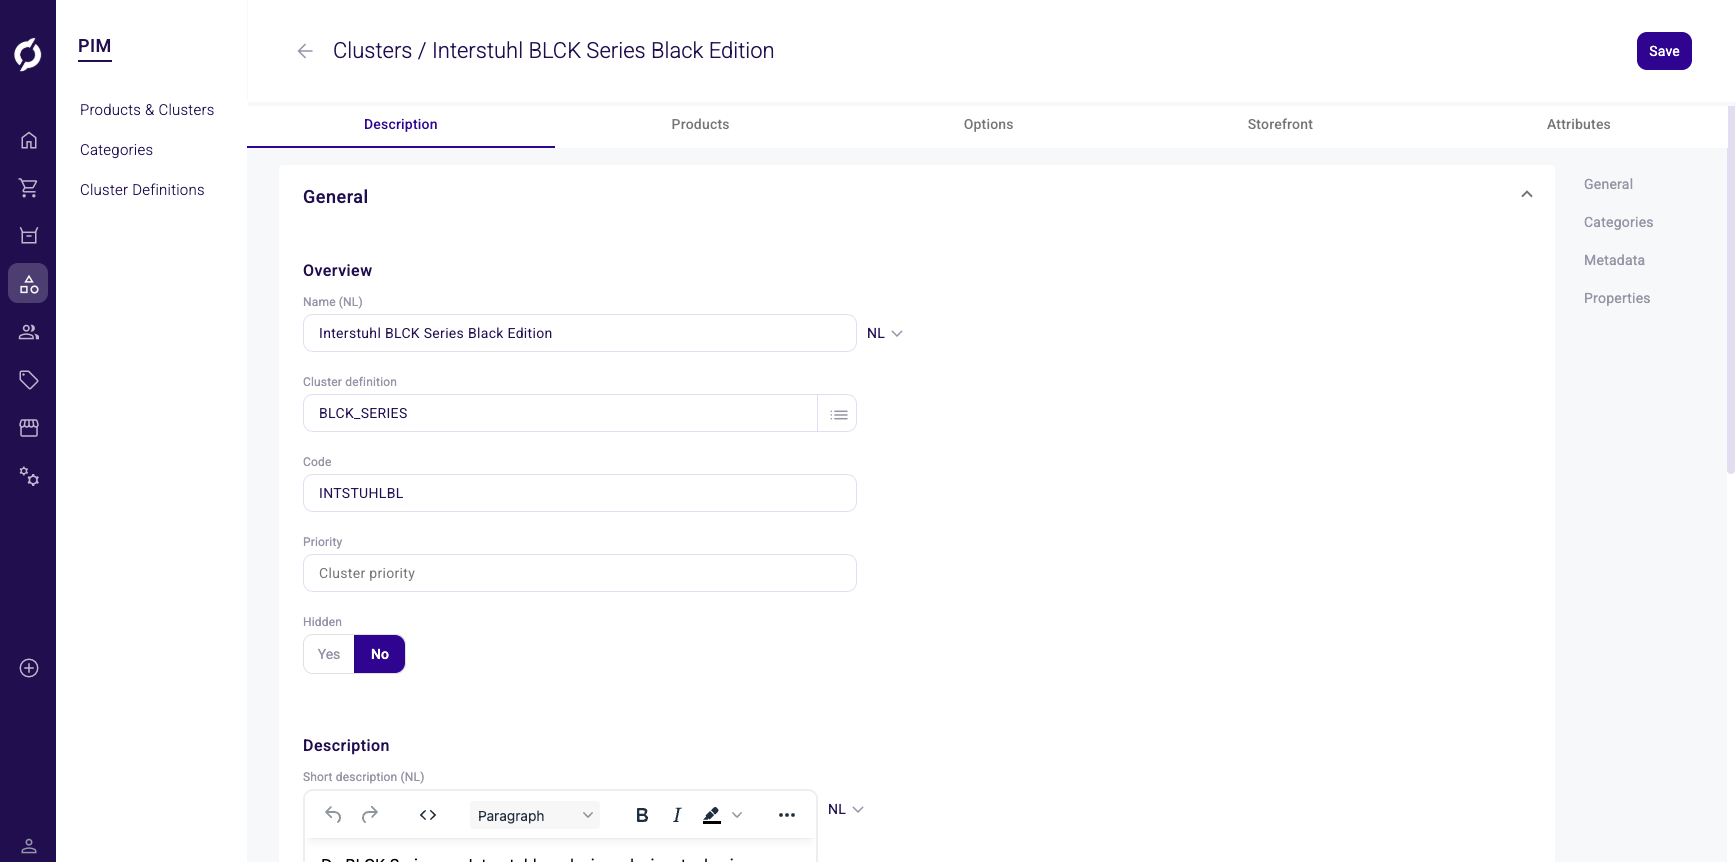
On the Description tab, update the cluster fields in the General section. A right sidebar provides quick navigation to the General, Categories, Metadata and Properties sections on this tab.
| Field | Description |
|---|---|
| Name | Cluster name (supports multiple languages) |
| Cluster definition | The definition type. Click the list icon to change it. |
| Code | Cluster SKU or code |
| Priority | Display priority |
| Hidden | Toggle to hide the cluster from the storefront |
| Short description | Brief cluster summary with rich text formatting (localized) |
| Description | Full cluster description with rich text formatting (localized) |
Manage cluster categories
Scroll down on the Description tab or click Categories in the right sidebar to view the category assignments for this cluster.
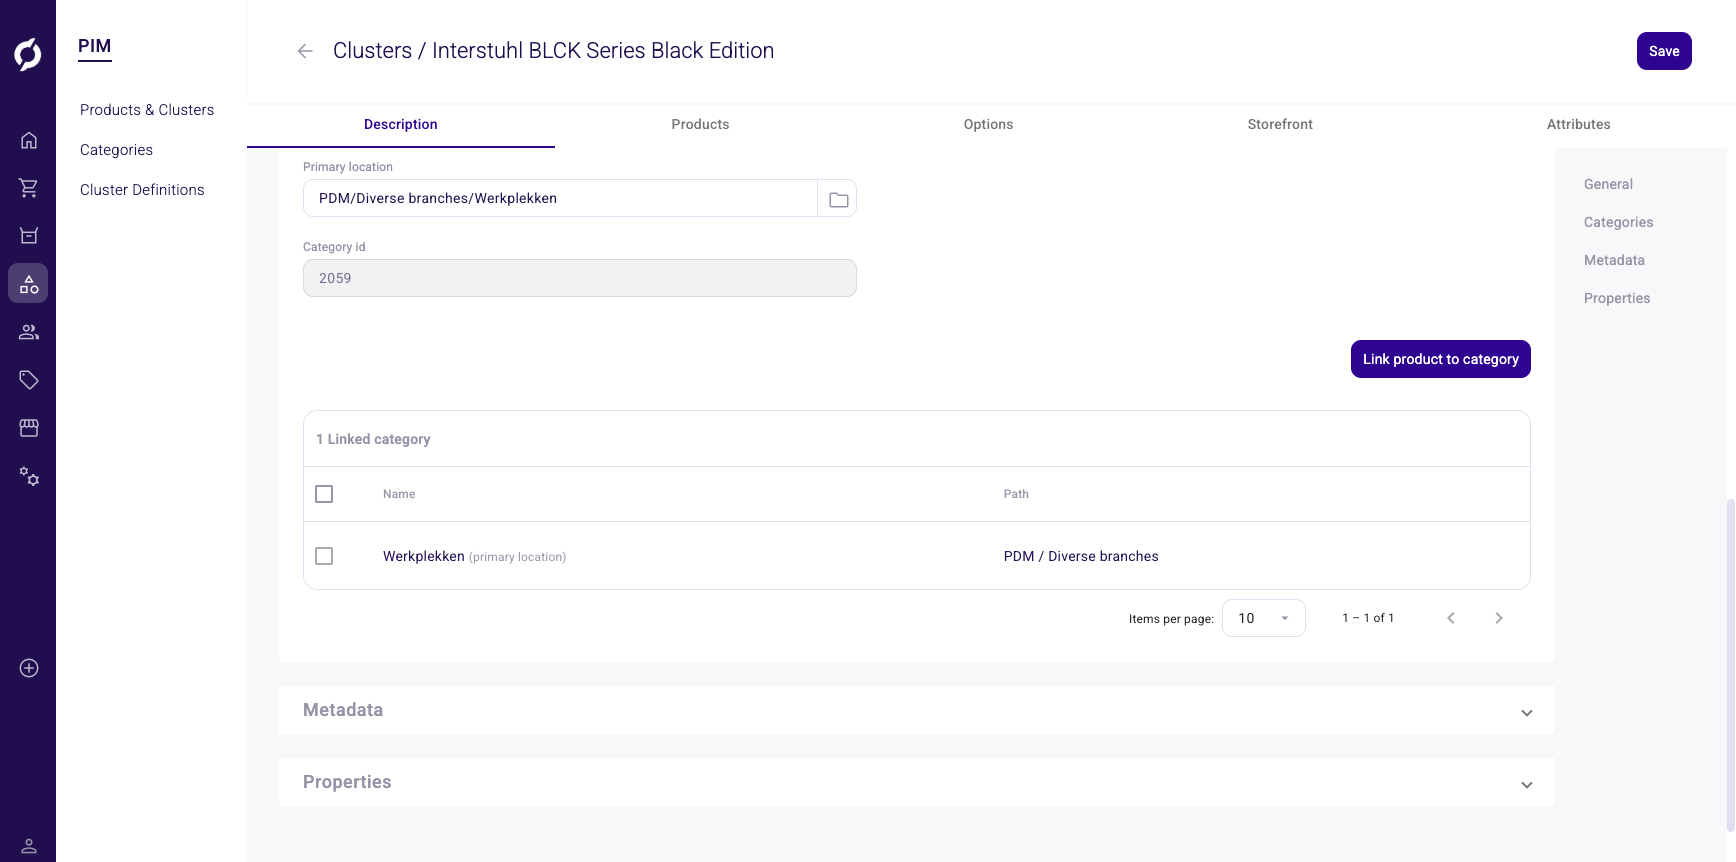
This section shows:
- Primary location: the main category path for this cluster.
- Category ID: the numeric identifier of the primary category.
- Linked categories: a table listing all categories this cluster belongs to, with name and path columns.
Click Link product to category to assign the cluster to additional categories.
Manage cluster products
On the Products tab, manage the products (variants) that belong to this cluster. The table shows each product with its image, name and dynamic attribute columns based on the cluster definition.
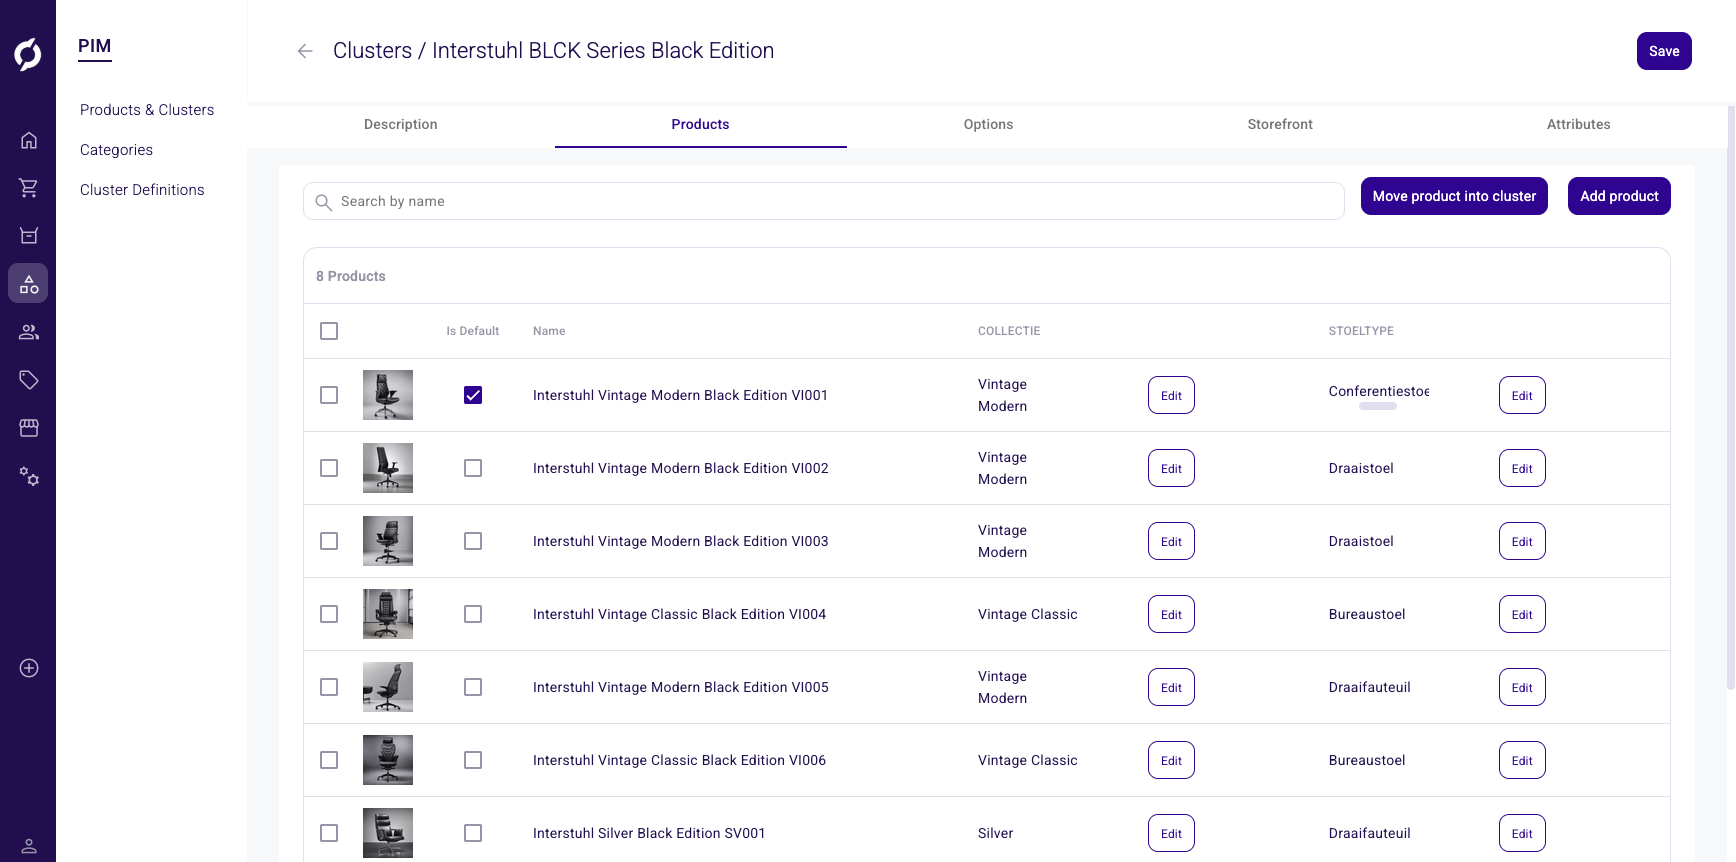
| Action | Access required | Description |
|---|---|---|
| Add product | Non-viewer | Creates a new blank product with default pricing |
| Move product into cluster | Non-viewer | Opens a product picker to assign existing products |
| Delete | Owner | Removes selected products from the cluster |
| Move out of cluster | Non-viewer | Moves selected products to another cluster or category |
Use the Is Default radio button to mark which variant is shown by default in the catalogue. You can edit attribute values inline by clicking the edit icon on any attribute cell.
Manage cluster options
On the Options tab, manage configurable add-on options for the cluster (for example, engraving or gift wrapping). The options list shows each option with its name, description, short description and whether it is required.
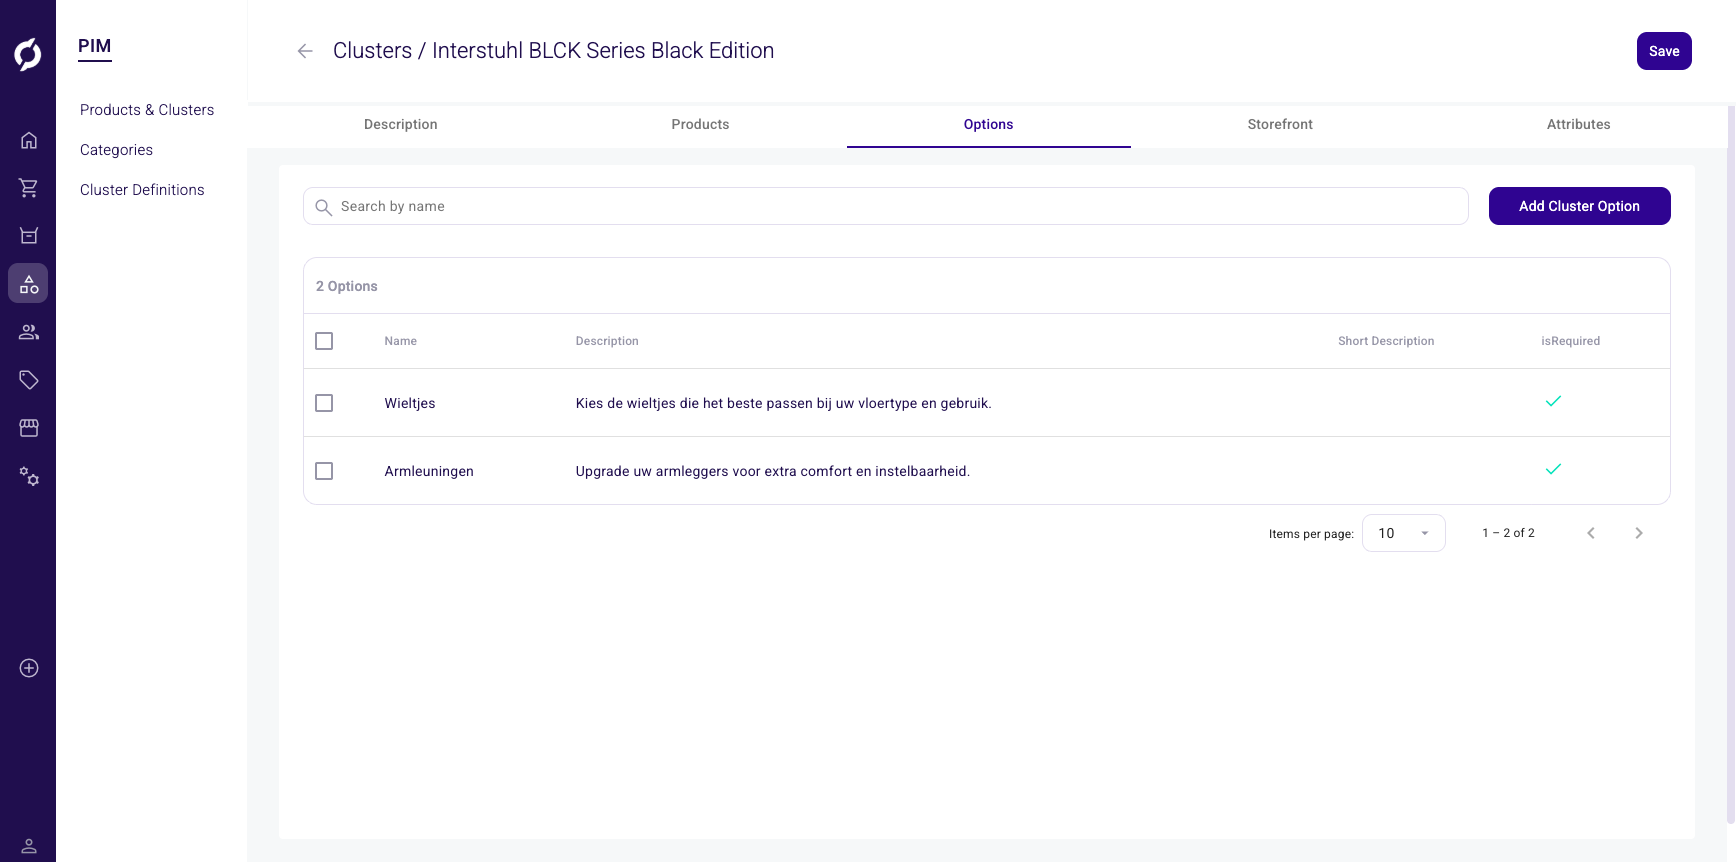
- Click Add Cluster Option to create a new option.
- Fill in the option details:
| Field | Description |
|---|---|
| Name | Option name (localized) |
| Description | Full description (localized) |
| Short description | Brief description (localized) |
| Is Required | Yes/No radio button to set whether customers must select this option |
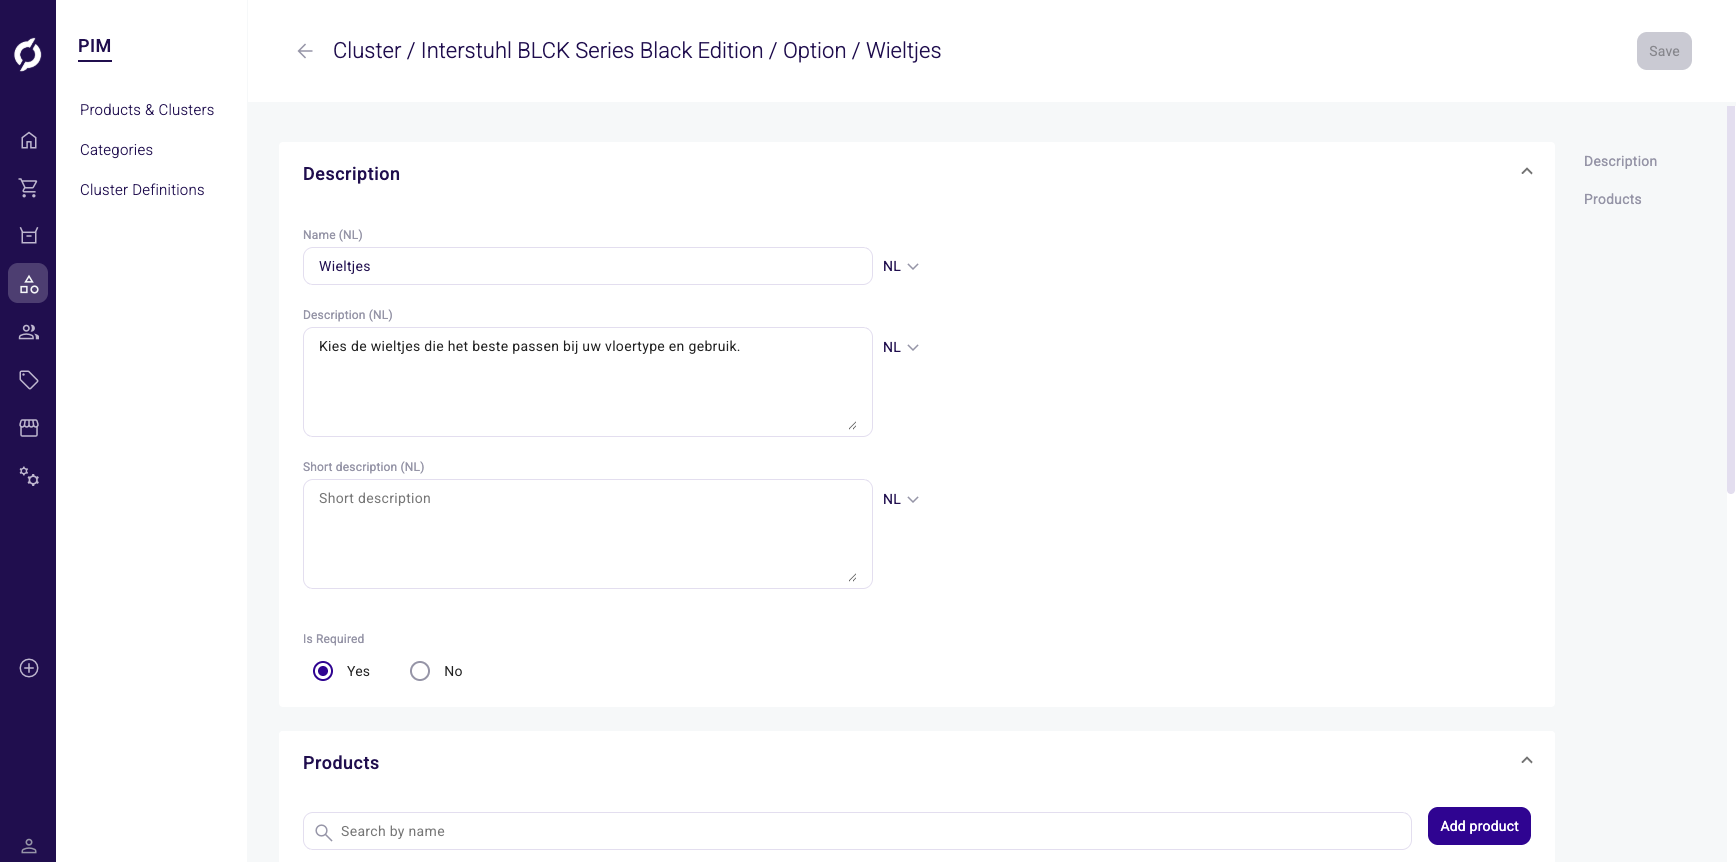
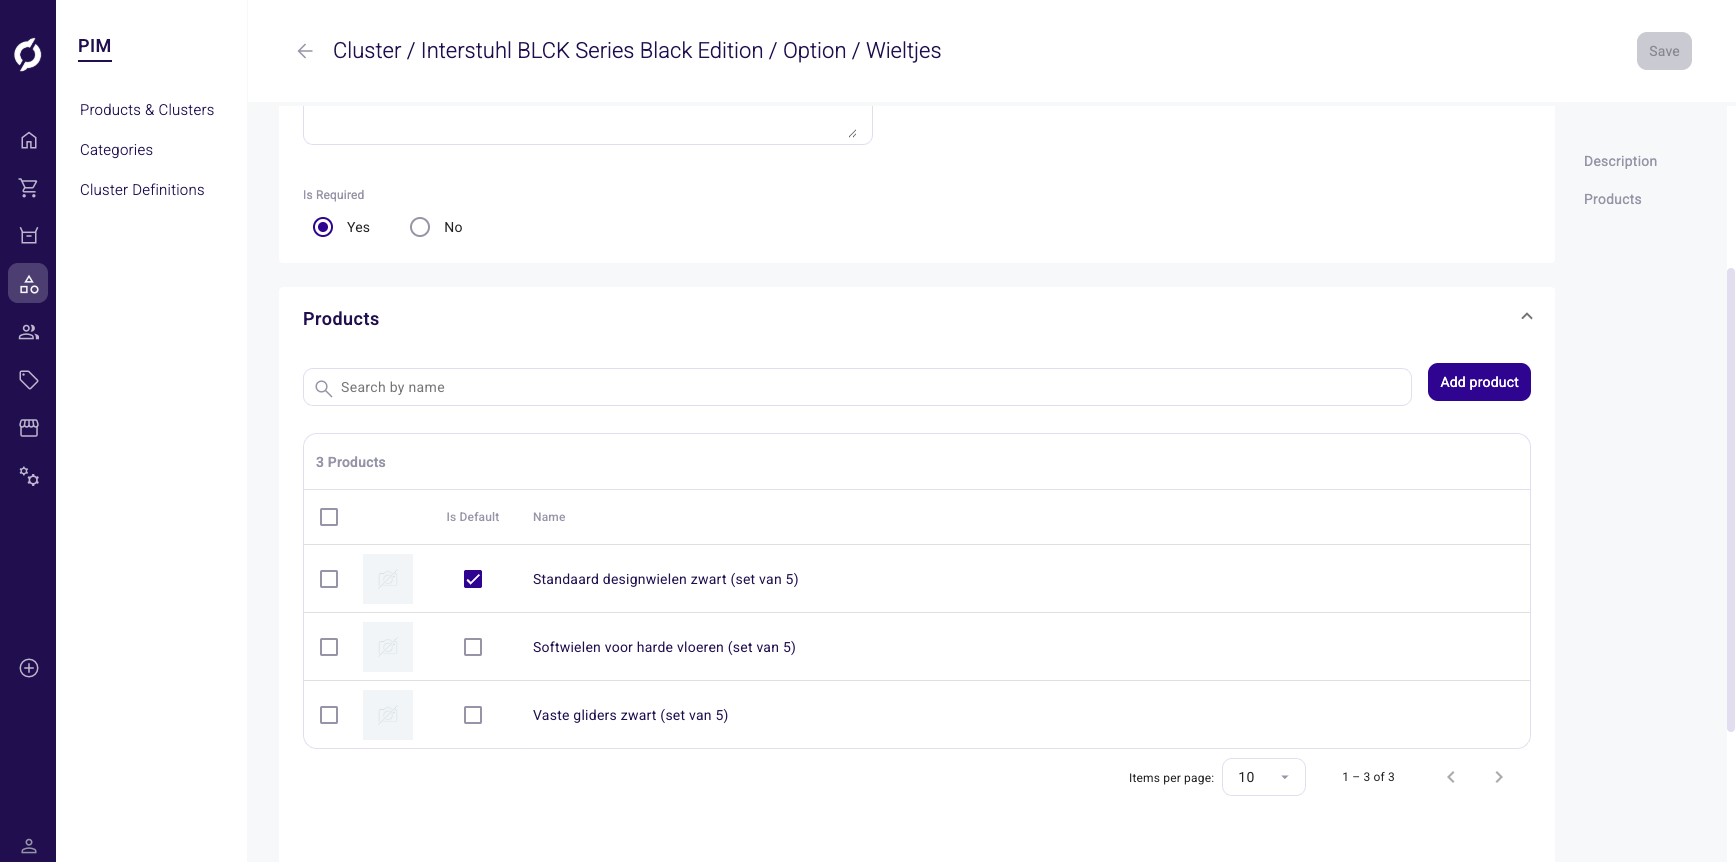
- Click Products in the right sidebar or scroll down to the Products section.
- Click Add product to add products that serve as the available choices for this option.
- Use the Is Default checkbox to mark which product is selected by default when a customer views the option.
Manage storefront relationships
On the Storefront tab, set up cross-sell and up-sell relationships. The tab contains five collapsible sections:
- Cross & Up Sell / Accessories
- Cross & Up Sell / Alternatives
- Cross & Up Sell / Related
- Cross & Up Sell / Options
- Cross & Up Sell / Parts
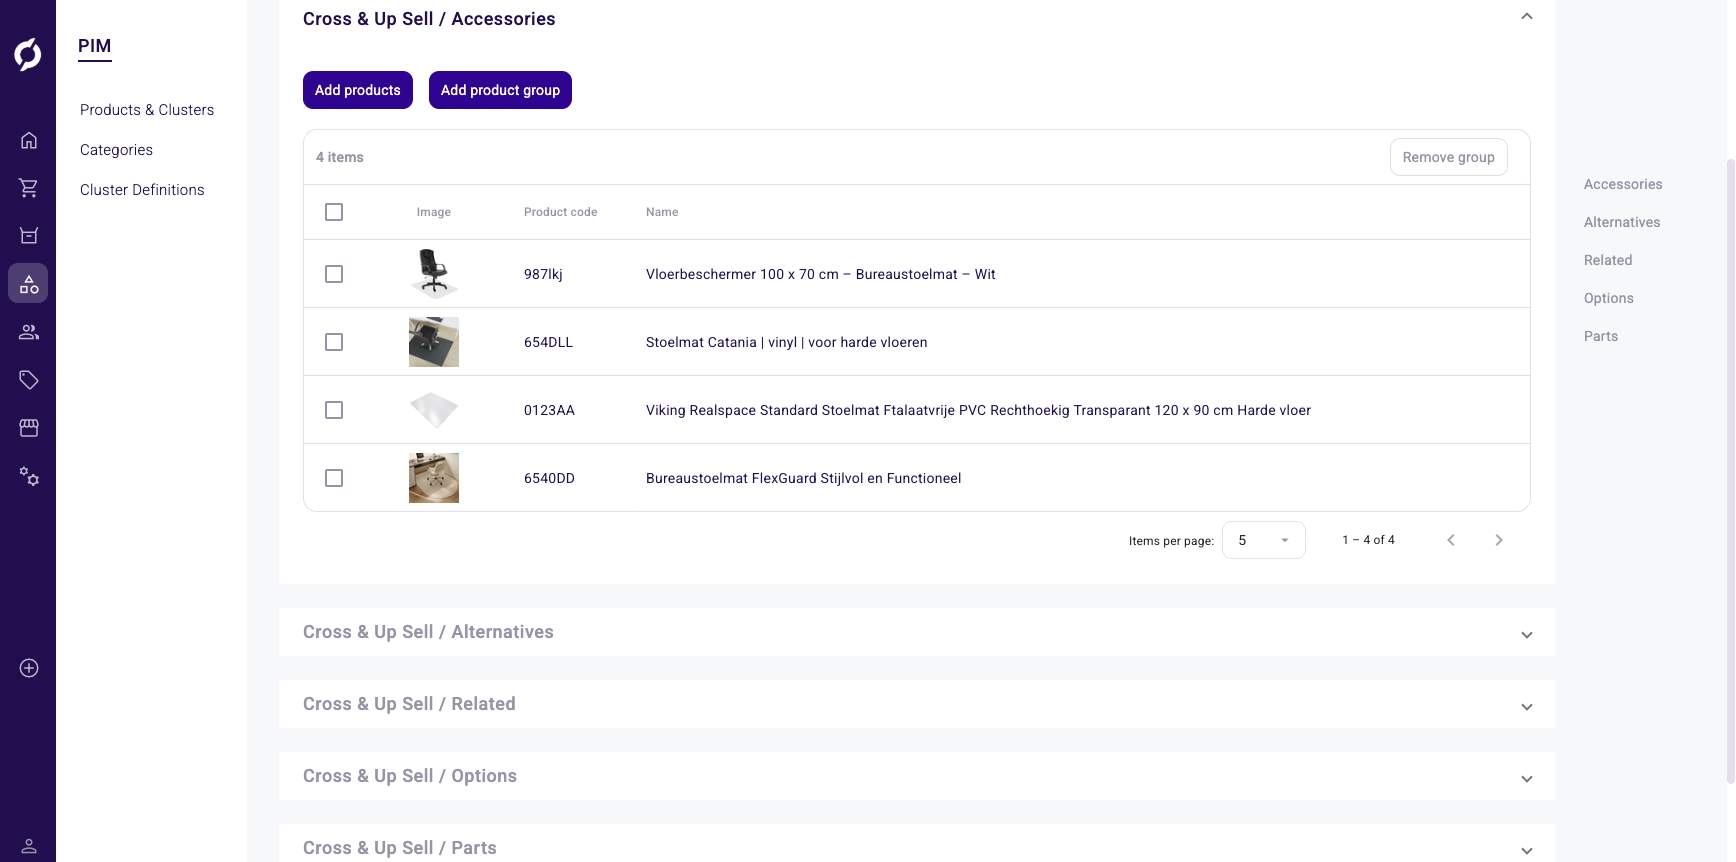
In each section, click Add products to add individual products or Add product group to add a group. You can remove items and reorder them within each section.
Edit custom attributes
On the Attributes tab, manage custom cluster-level attributes.