Manage companies
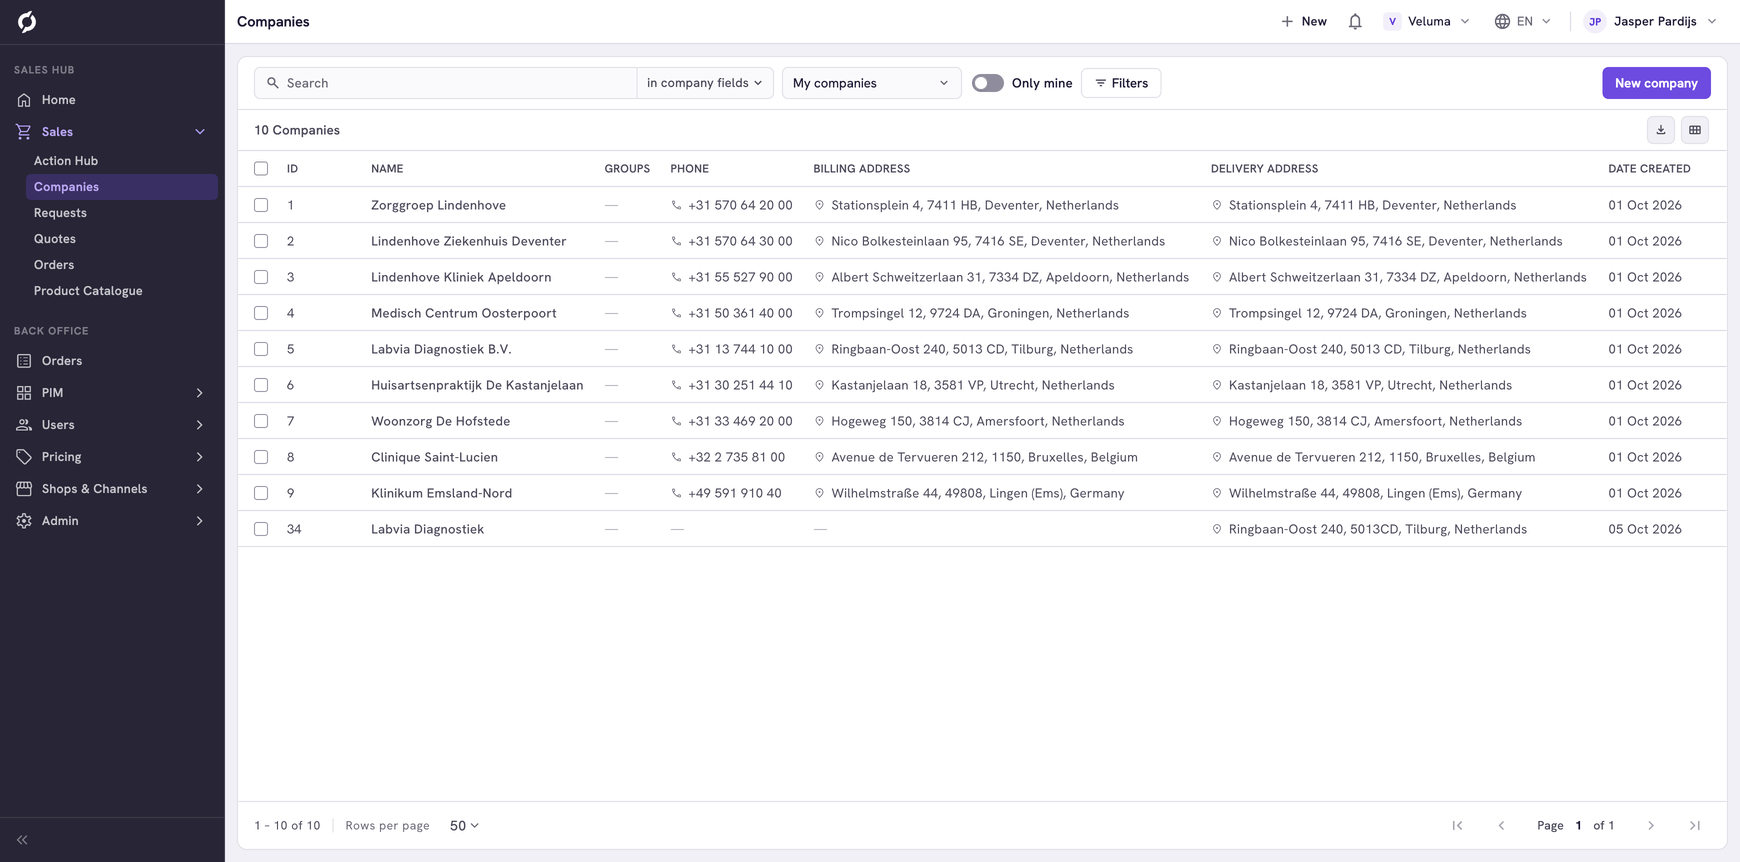
The Companies page lists the companies you sell to. Find a company to see its contacts, addresses, quotes and orders. From its page you also start a quote or an order for one of its contacts.
Before you begin
- You need Sales Hub access and the User management role.
- To create or delete a company you need Owner access on User management.
Find a company
- Go to Sales > Companies.
- Type at least three characters in Search, for example part of the company name, a debtor ID or the email address of a contact.
- Click the company to open it. See View a company.
Filters on this page narrow the list by date only: when a company or a contact was added or last changed.
Show only your own companies
Click My companies, tick the companies you work with and switch on Only mine. The list now shows only those companies.
Only mine also works on the Requests, Quotes and Orders lists and on the counts of the Home page. See Work with lists.
Read the columns
| Column | What it shows |
|---|---|
| ID | The number Propeller gave the company. Your own customer number is the debtor ID, which you find with Search |
| Groups | The tags of the company, for example a customer group |
Create a company
- Click New company at the top right.
- Propeller creates a company called "New company" straight away and opens its page.
- Fill in the name and the other details and click Save. See Edit a company.
The company exists from step 2 on. If you clicked by mistake, delete it again from the list.
Delete a company
- Tick one or more companies.
- Click Delete above the table and confirm.
You can only delete a company that has no contacts. Delete its contacts first, or move them to another company. A deleted company cannot be brought back.
Run a workflow on the list
When your company set up AI agents for this page, a Workflows button shows at the top right. See Workflows & AI Agents.
Related pages
- View a company - its contacts, addresses, quotes and orders
- Work with lists - search, filters, columns and export