Set up n8n and connect it to Propeller
The examples in the library are built in n8n, a visual workflow tool. This page covers the one-time setup: an n8n account and a Propeller API key. After this, installing any entry from the library takes minutes.
Before you begin
- You need Owner access on the API Key role to create an API key.
- For embedded agents you also need Owner access on the Configuration role to create agents.
Create an n8n account
Sign up at n8n.io. A free or starter subscription is enough to try things out. Upgrade only when your automations go into daily use. You can also self-host n8n if your organization prefers that.
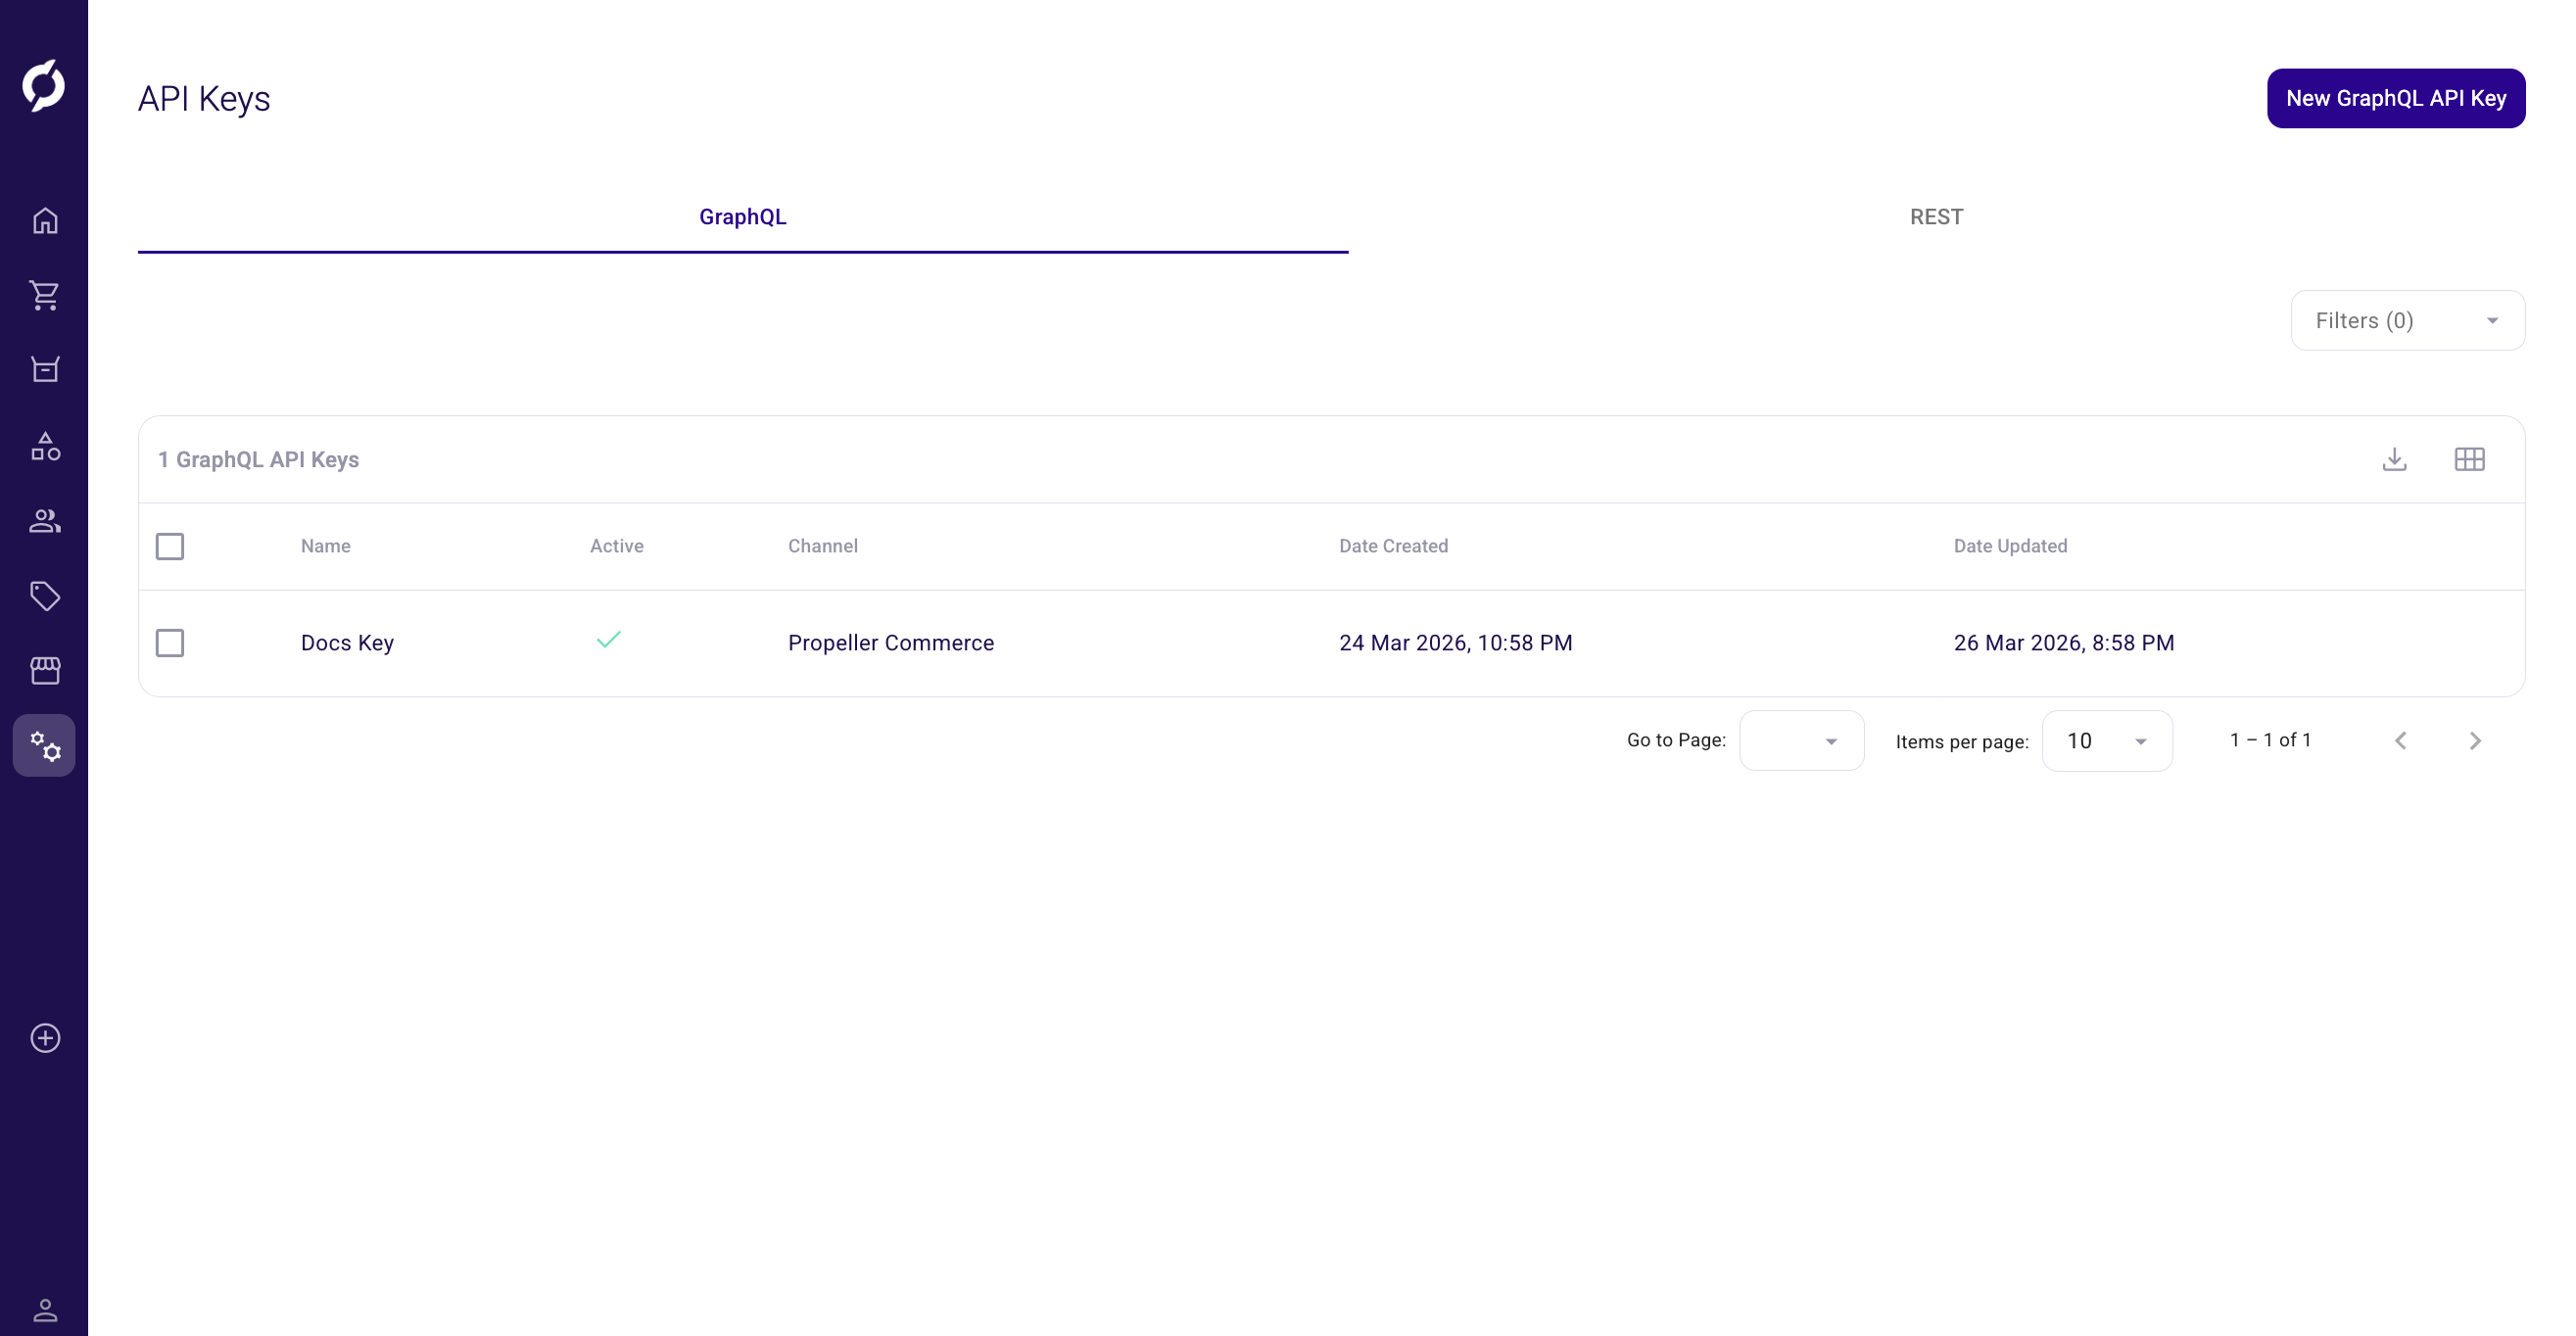
Create a Propeller API key
Your workflows authenticate to Propeller with an API key.
- Go to Admin > API Key Management.
- Create a key. See API Keys for the steps and fields.
- Store the key somewhere safe. You will paste it into n8n as a credential.
When you create the key, give it the least access possible. A key has roles and rights, so grant only what the workflow actually uses. That way the workflow never has more access than it needs. You can change the roles and rights of an existing key at any time by editing it, so start small and extend only when a workflow needs more. Which role an API operation requires is listed per query and mutation in the GraphQL reference in the developer documentation.
Treat an API key like a password. Do not share it, do not put it in a workflow you export and never paste it into an AI assistant.
Use the key in a workflow
In n8n, the nodes that call the Propeller API use this key as a credential. Each library entry tells you exactly where to fill it in after you import the workflow. The Propeller API itself is documented in the developer documentation.
Connect an embedded agent
Only needed for entries labeled Embedded in Propeller:
- In n8n, your imported workflow starts with a webhook. Copy its production URL.
- Go to Admin > Agents and create an agent. See AI Agents.
- Paste the webhook URL in the Webhook URL field and pick the pages where the agent should appear.
Next step
Pick an entry from the workflow library and follow its install guide.